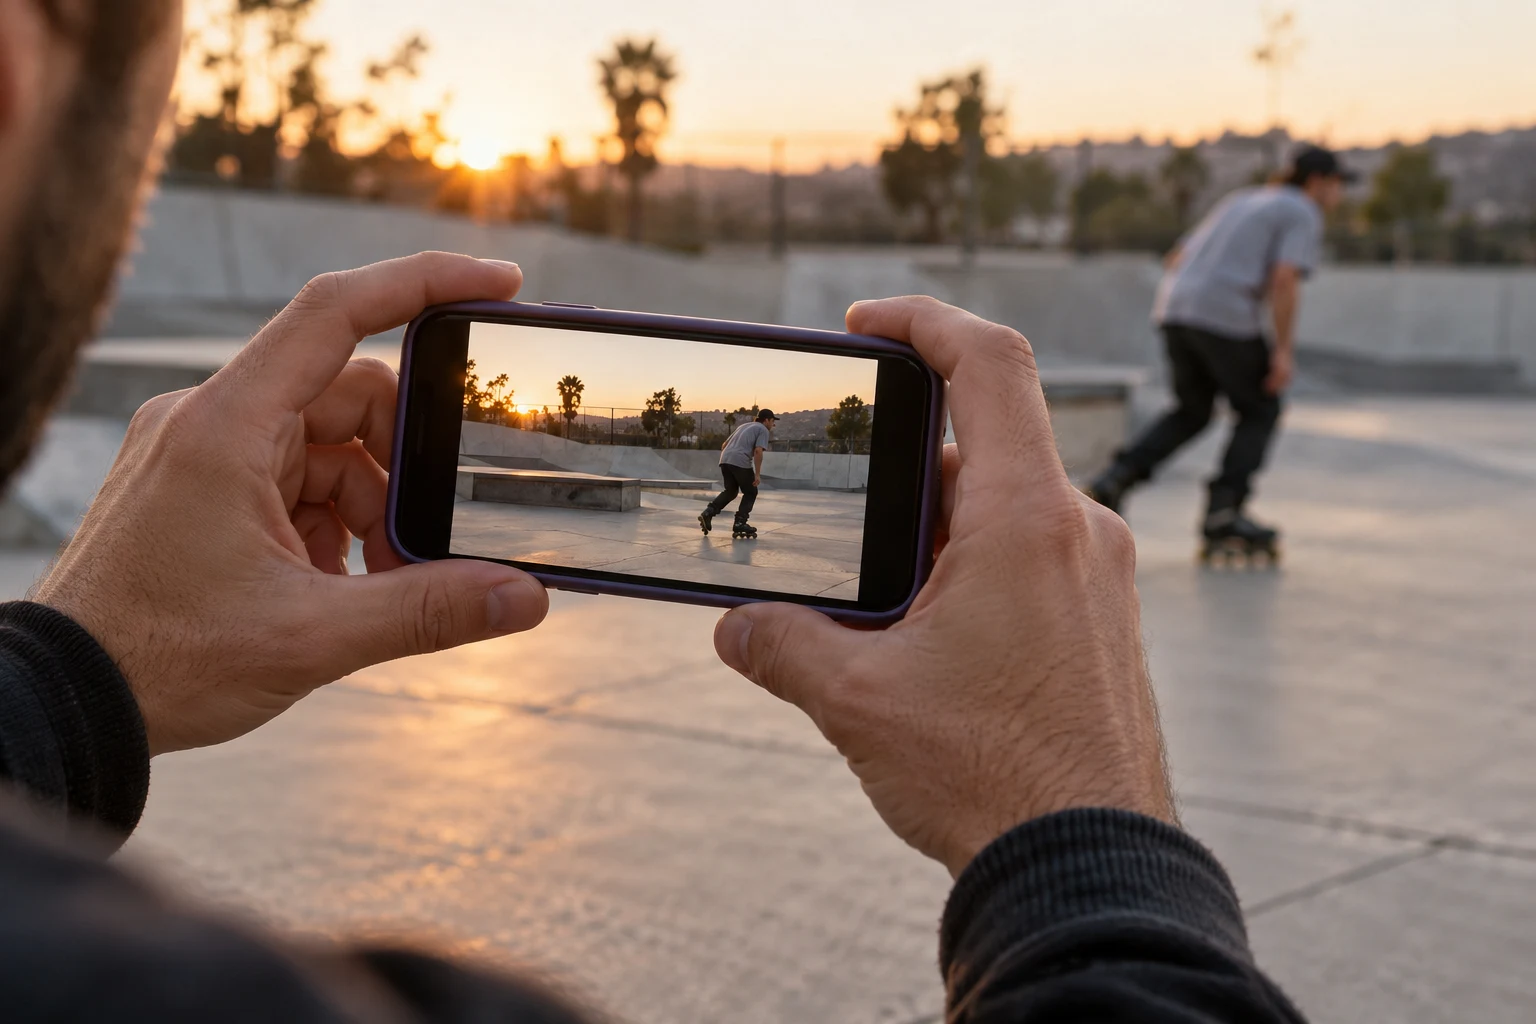
Start with the light on the whole route
Walk the location before setting up. Look at the approach, obstacle and finish rather than only the bright patch where you want the trick to happen. A rider may disappear into shadow immediately after contact. Also check whether the surface and surrounding traffic are visible enough for the session itself. A camera making a dark image brighter does not make a dark route suitable for skating.
For this planning exercise, choose a familiar movement and an ordinary fixed camera position outside the line. Use the light already present before discussing extra equipment. If the usable area is too small for the full movement, choose a different spot, a daylight visit or a static detail shot. The clip is optional; the route still needs to be understood by everyone using it.
Name the compromise you are testing
GoPro's official night-action guidance describes the trade-off between longer exposure and moving-subject blur, and between higher ISO and noise. Do not copy its model-specific settings onto an unrelated camera. Decide what matters for this particular clip: seeing skate contact clearly, preserving the flow at normal speed, or making an intentionally blurred atmospheric shot.
Write a one-line brief such as “show the skates at contact, accept a less polished background”. That original example makes reviewing the test easier. An attractive scene with unreadable feet does not answer that brief. Conversely, a clip intended to establish the evening atmosphere need not pretend to analyse precise foot positions. Keep those two uses distinct when you write the caption.
Compare one change at a time
Make a short baseline recording and review the actual file. For a controlled comparison, keep the route, camera position and movement the same. Change one available control at a time, then label the test. On an automatic-only device, compare two supported capture modes rather than claiming manual control that is absent. Check the current manual for what each mode actually changes.
Compare three moments: the rider entering the lit area, contact, and leaving it. Inspect the moving skates and then watch at normal speed. Is the important moment readable? Are visible bands or brightness changes distracting? Do not diagnose the cause from one thumbnail. If an available anti-flicker option or different capture mode helps in a short test, record that choice; its usefulness at one location is not a guarantee elsewhere.
Use a stop rule and a useful caption
After a small agreed test block, decide whether to continue, change the shot or stop filming. Avoid spending an entire session chasing a setting that the available equipment and light cannot provide. Keep a normal-speed test alongside any slow replay. Compare both before using the result to discuss a trick, and acknowledge when shadow or blur prevents a conclusion.
- Keep lights, stands and cables out of riding and walking routes.
- Ask permission before adding equipment at the venue.
- Avoid directing a bright light into riders’ or other users’ eyes.
- Recheck framing after changing any stabilisation or capture mode.
- Describe the lighting limitation rather than inventing a performance claim.
For a BladeFeed post, “evening session; contact partly obscured” is more useful than presenting an unclear frame as technical evidence. Sources checked on 11 October 2026. This is an editorial test plan, not a tested camera preset or a coaching assessment.
Quick answers
What if my low-light clip does not clearly show skate contact?
Change the shot, use a better-lit location or return in daylight. Keep the limitation in the caption rather than using the unclear image as evidence of technique.
- What if my low-light clip does not clearly show skate contact?
Change the shot, use a better-lit location or return in daylight. Keep the limitation in the caption rather than using the unclear image as evidence of technique.
YOUR NEXT STEP
Make the trade-off visible
Bring the session to the rollerblading community.
Explore BladeFeed ↗YOUTUBE / @BLADEFEED
BladeFeed on YouTube
Visit the BladeFeed channel on YouTube. Read the filming guides here and explore the channel in a new tab.
References & useful links
Practical suggestions are editorial guidance. The linked primary sources support product and technical details; current features and venue information may change.