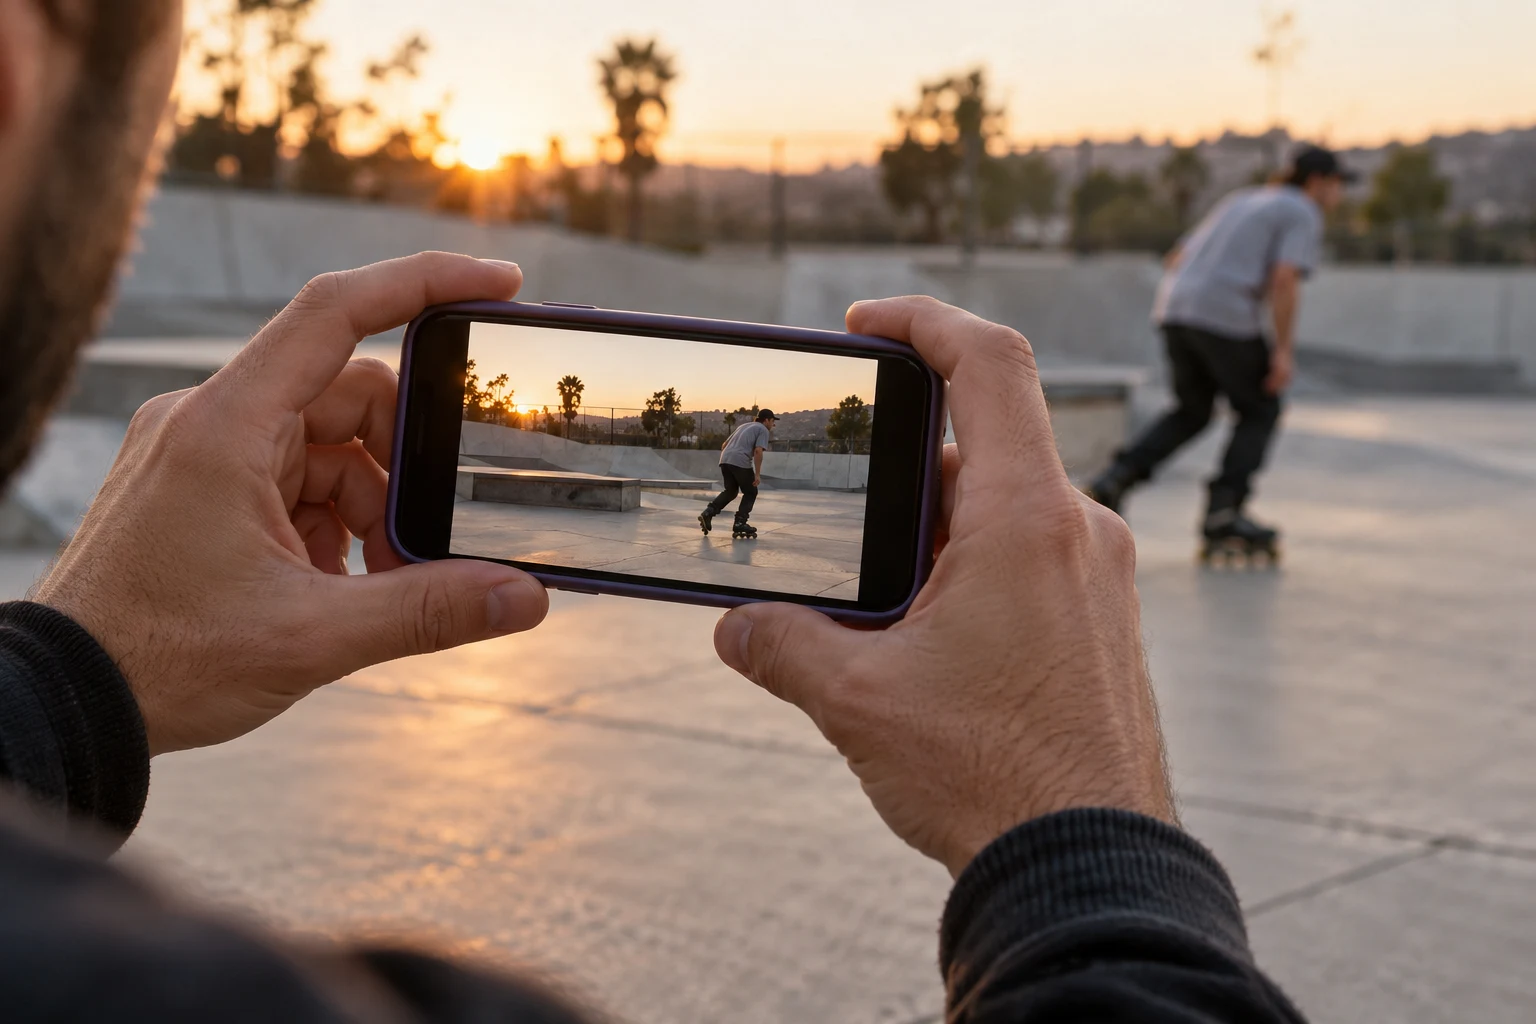
Draw the route before choosing the shot
Ask the rider to describe the approach, the feature, the intended finish and where an abandoned attempt could go. Include the space used by other park users. Choose a filming area outside those routes, with a clear way to step farther away. Bags, tripods and spare equipment belong outside the same working space. Do this before comparing lens modes on a screen.
For a simple static shot, imagine an observer on the side of the obstacle rather than directly ahead of the rider. That is a starting exercise, not a universal safe distance. The obstacle, speed, crowd and possible exits change the available position. If you cannot leave the whole route clear, change the shot or wait for another opportunity.
Use width to explain, not exaggerate
Adobe identifies distortion as a wide-angle consideration; GoPro's lens tool offers different views depending on the original capture mode. Check what your actual camera shows. A wide setting and a fisheye look are not interchangeable promises about identical optics. Look at the obstacle edge and how the rider appears near each side of the frame.
Try a stationary preview with someone standing at the approach, contact point and finish. Keep the camera position the same while comparing available views. Ask which version makes the complete action understandable. An image that makes a low feature appear dramatic may be a stylistic choice, but it should not be presented as a measurement of its height or difficulty.
Compare three original shot exercises
Side overview: keep the camera still and include a visible piece of approach and roll-away. This is useful when the relationship between obstacles matters more than an individual detail. Check that a foreground railing does not conceal the skates at contact.
Diagonal overview: stand outside the route, viewing across the obstacle rather than along the landing. The exercise is to preserve both contact and exit in one frame. Do a normal-speed test and review the whole movement; do not solve a cropped finish by moving into the exit path.
Detail insert: record an empty obstacle or stationary equipment after the attempt, with permission where needed. Combine it with the complete shot if useful. A close detail does not require the filmer to occupy that position while someone skates through it. These are planning examples, not reports of a session we filmed.
Review the edges and keep a repeatable note
Pause the test at entry, contact and exit. Check the skates, hands and head at each point. Then play at normal speed to see whether the rider suddenly disappears near an edge. Evaluate the actual recorded file, because previews, stabilisation and editing crops can leave different visible margins on different devices.
- Record the camera position and lens mode in a short shot note.
- Confirm the rider and nearby users can see the filmer.
- Keep the route clear during setup, recording and retrieval.
- Compare a complete view before committing to a detail angle.
- Identify any deliberate crop when using the clip to discuss technique.
Share the useful angle and filming credit with your BladeFeed clip. Sources checked on 11 October 2026; the route-planning exercises are editorial suggestions, not camera specifications or a coaching review.
Quick answers
Should I get closer just because I use a fisheye lens?
No. Plan outside the approach, possible failed-attempt routes and exit. Choose an angle that shows the action without occupying the rider’s working space.
- Should I get closer just because I use a fisheye lens?
No. Plan outside the approach, possible failed-attempt routes and exit. Choose an angle that shows the action without occupying the rider’s working space.
YOUR NEXT STEP
Space before the lens
Bring the session to the rollerblading community.
Explore BladeFeed ↗YOUTUBE / @BLADEFEED
BladeFeed on YouTube
Visit the BladeFeed channel on YouTube. Read the filming guides here and explore the channel in a new tab.
References & useful links
Practical suggestions are editorial guidance. The linked primary sources support product and technical details; current features and venue information may change.